

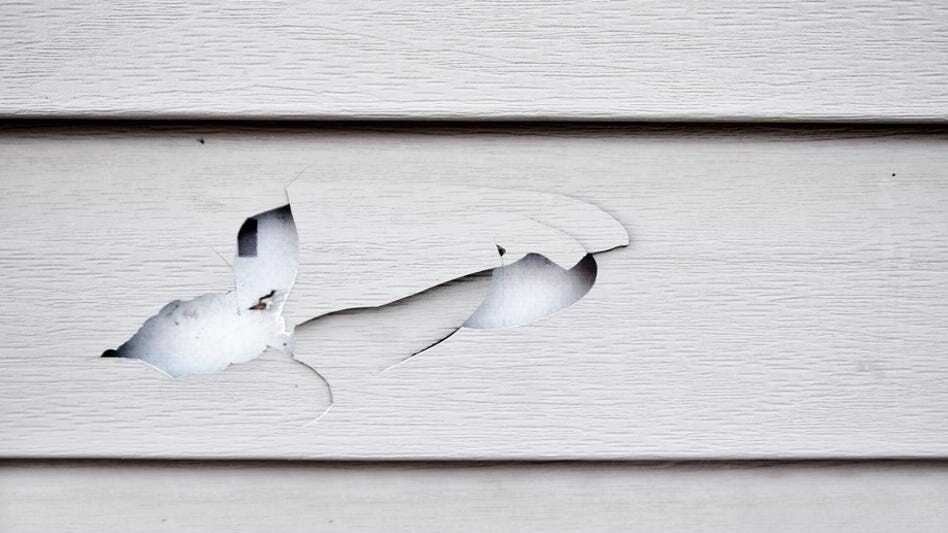
Junior’s fastball might still find the strike zone, but your vinyl siding has been cracking. It would be best to learn how to replace vinyl siding because it is very simple. Replace vinyl siding is easier than installing the new one. However, the most difficult part is to match your siding with the replacement piece. Today we will present simple ways to color-match and easily replace your vinyl siding.
Vinyl siding can get dings and dents over time and crack in the worst-case scenario. If a homeowner is conducting substantial renovations or wants to alter the color of their home, it may be time for vinyl siding replacement.
When deciding when to replace vinyl siding, it’s crucial to consider the area’s climate. Because vinyl siding expands and contracts with temperature, the optimum time to replace it is in the spring or early summer when the weather is mild.
What Is The Best Way To Match Vinyl Siding?
It’s a challenge to match replacement vinyl siding to existing siding, but it’s not impossible. Take the torn vinyl siding piece to a paint shop to get the color-matched. To match the house siding color, use an acrylic primer and a coat of acrylic house paint. You might try to match the color by contacting the manufacturer if you know who made the siding.

Considerations for Safety
You’ll need a ladder and safety precautions depending on the size of the vinyl siding replacement project and the amount of damage. When removing old siding, gloves can be useful.
- Zipper tool
- Pry bar
- Hammer
- Utility knife
Instructions
1. Remove the old vinyl
Remove the broken piece of vinyl siding to begin repairing it. Begin at the end of the damaged vinyl siding with a zip tool (a small metal bar tool slanted to reach under the siding to lock or unlock where siding interlocks with the nailing flange attached to the house). Slide the zip tool beneath the vinyl siding until it hooks the bottom lip. To unhook the vinyl siding, pull the zip tool down and out, then pull the siding up to loosen it.
The damaged component can be cut out using a utility knife if the rest of the piece isn’t damaged.
2. Take out the nails from the siding
To remove the nails keeping the vinyl siding in place, slide a pry bar behind it. While doing so, use your elbow to keep the siding above the piece in place.
3. Replace old vinyl siding with new vinyl siding
Pushing up until the lower lip of the new vinyl siding piece latches into the piece below it, sliding it into place. Start hammering 14-inch roofing nails into the nailing flange once it’s fastened in. Place the nail in the flange’s center, but don’t drive it all the way in. Allow about 1/32 of an inch for vinyl siding expansion and contraction.
Using a zip tool, secure the new vinyl siding piece in place. Start at one end of the piece and pull the lip down, like when removing vinyl siding. To press the leading edge down, twist the zip tool gently. It will snap into place by sliding the zip tool along with the vinyl siding and pressing down on it.
When Should You Hire a Professional?
If you don’t have the time, don’t feel confident, or have a project larger than replacing one piece of vinyl siding, you should hire a professional—a professional siding replacement costs between $3 and $11 per square foot.
Simple Steps To Remove Vinyl Siding
- Begin by locating the damaged vinyl siding that must be replaced.
- Next, slide your zip tool along the bottom edge of the damaged siding piece, starting at one end.
- Pull the tool down and out to unhook the damaged piece from the piece below it until you feel the tool hook.
- Continue sliding the zip tool along the edge of the piece until it is completely free.
- Slide your flat bar beneath the vinyl siding after that.
- Pry up the siding with the flat bar and remove the nails.
- Next, cut a replacement piece of vinyl siding to the same size as the damaged one with a table saw or circular saw. (The damaged piece can even be used as a sizing guide.)
- Slide the new siding piece into the open space and push it up against the vinyl siding below it until the lower lip snaps in place.
- Next, using your hammer and nails, drive a nail into the siding every eight to twelve inches. (Because siding expands, we recommend leaving about 1/8′′ between each nail and the wall.)
- Grasp the upper piece of vinyl siding with your zip tool and slide it over the new piece, locking it in place.
Additional Suggestions
- While installing the new siding piece, use wood blocks to support the upper panel.
- Because siding often lacks identification signs
- Apply an acrylic primer to the replacement siding before applying the paint. Acrylic paint is the best choice because it can withstand any contraction and expansion of the vinyl panels. Your local vinyl siding dealer may also be able to assist you in locating a replacement piece that matches your siding closely.
- When the weather is warm, I recommend installing vinyl siding since it is more flexible and simpler to work with. Vinyl becomes hard and brittle as it gets cold outside.
- Cut roughly one inch of the nailing strip with a tiny cutting instrument like a blade to get the panel to lay flat next to the other panels. Carry on with the lower lock in the same manner.
- If the entire siding panel is not damaged, cut the damaged area out and replace it with the same siding. You’ll need a utility blade and a speed square to cut the new piece properly.
- Finding replacement parts that match the color and style of the original piece can be challenging. Bring the old siding to a paint shop and have it color matched if you can’t find the proper color.
Wrapping Up
There’s no denying that vinyl siding provides a plethora of advantages. For one thing, it’s simple to replace if it gets damaged, and with the correct tools, you should be able to do the task in half an hour or less.
Keep in mind, though, that vinyl is prone to expanding and contracting in reaction to temperature variations. Follow the instructions to keep the panels secured together no matter what the weather is like.


